I'm Still Here... Not complaining, just explaining.
I’ve been dealing with severe headaches and migraines since I was around 12, as far as I can remember. It hasn’t always been easy, but over the years I learned how to live with it and adjust my life around the pain.
The last five years have been a little more manageable thanks to a painkiller that usually kicks in after about an hour and fifteen minutes. Even so, I still rely on it at least eleven times a month.
But what happened about a month ago was different—outside of my “regular” routine.

I was almost asleep when I suddenly felt an extreme, sharp pain, as if something snapped in my neck and the side of my head. Almost immediately, the tip of my left ear and the left side of my head went numb for a short while. The next morning, I woke up with pain in my left arm, and that pain hasn’t fully left me even now, more than a month later.
We’re still not entirely sure what happened. It seems likely that a blood vessel, internal or external, was temporarily blocked. There’s also a small chance it was a minor bleed. We’re still investigating and trying to find a clear cause and solution.

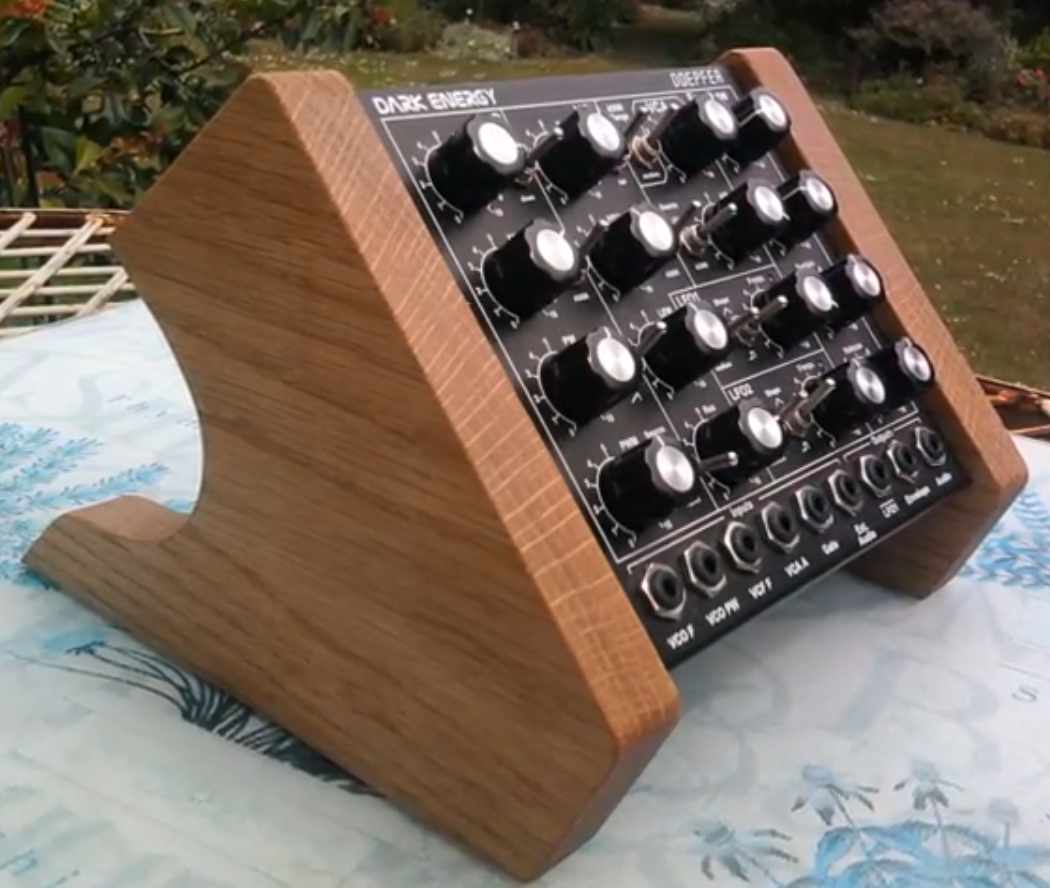
Luckily, I was able to spend a week in the German Eifel region, taking things slow for a month. I even managed to finish building my DIY Eurorack case (the one I wrote about earlier).
I also ordered an Arduino UNO R4, so I’ve been diving into Arduino programming,because even when my head hurts, it’s still full of ideas.
Maybe that’s what caused all this in the first place…
And yes... my AKAI MPC Live 3 arrived! A worthy successor to my old MPC Touch, which needed replacing after Akai stopped supporting it.

Blog posts will return soon. I’ll catch up on some of the important instrument releases and events from the last few months, and I hope to get back again to a more regular posting rhythm.
I also still have a few people I look forward to meet and/or interview before the year ends.
Thanks to the ones who reached out. I don’t want to sound dramatic, but honestly. I’m glad I’m still here.


.jpg)